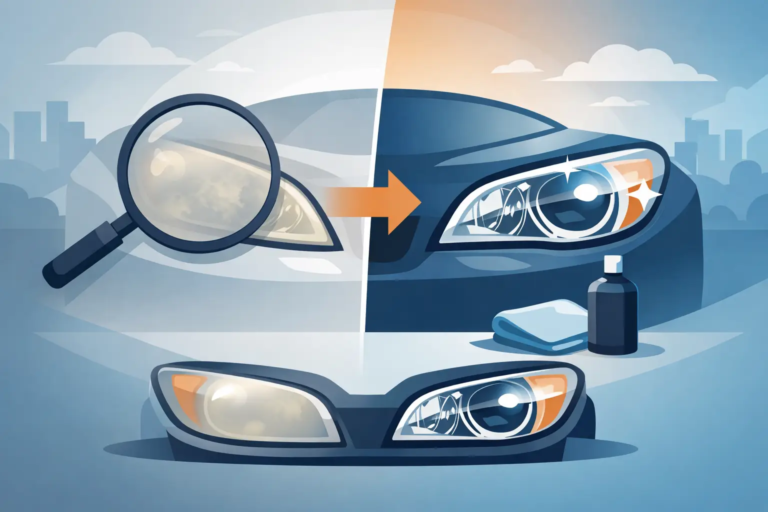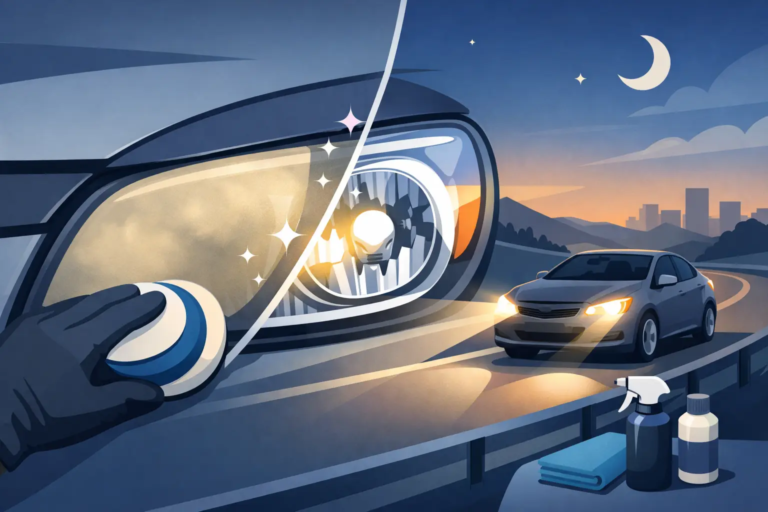
Cloudy headlights make a vehicle look older, but that is not the real problem. The bigger issue is visibility. If you are searching for how to restore oxidized headlights, you are usually dealing with more than a cosmetic nuisance – you are trying to get back safer nighttime driving without paying for full replacement if you do not have to.
In North Texas, oxidized headlights are common. Sun exposure, heat, road grime, and car wash chemicals wear down the factory protective coating over time. Once that outer layer starts to break down, the lens turns yellow, hazy, or chalky. The good news is that many headlights can be restored. The bad news is that not every quick fix lasts, and some DIY methods make the problem worse.
Why headlights turn cloudy in the first place
Most modern headlight lenses are made from polycarbonate plastic, not glass. That plastic is strong and lightweight, but it needs a UV-resistant hard coat to stay clear. As the coating ages, the sun attacks the surface. Oxidation forms, and the lens starts scattering light instead of projecting it cleanly down the road.
That is why headlights can look dull even after a wash. Dirt sits on the surface, but oxidation is damage within the outer layer itself. If the lens has been neglected for a while, you may also see pitting, scratches, or internal moisture. Those details matter because restoration works best when the main issue is surface oxidation, not structural damage.
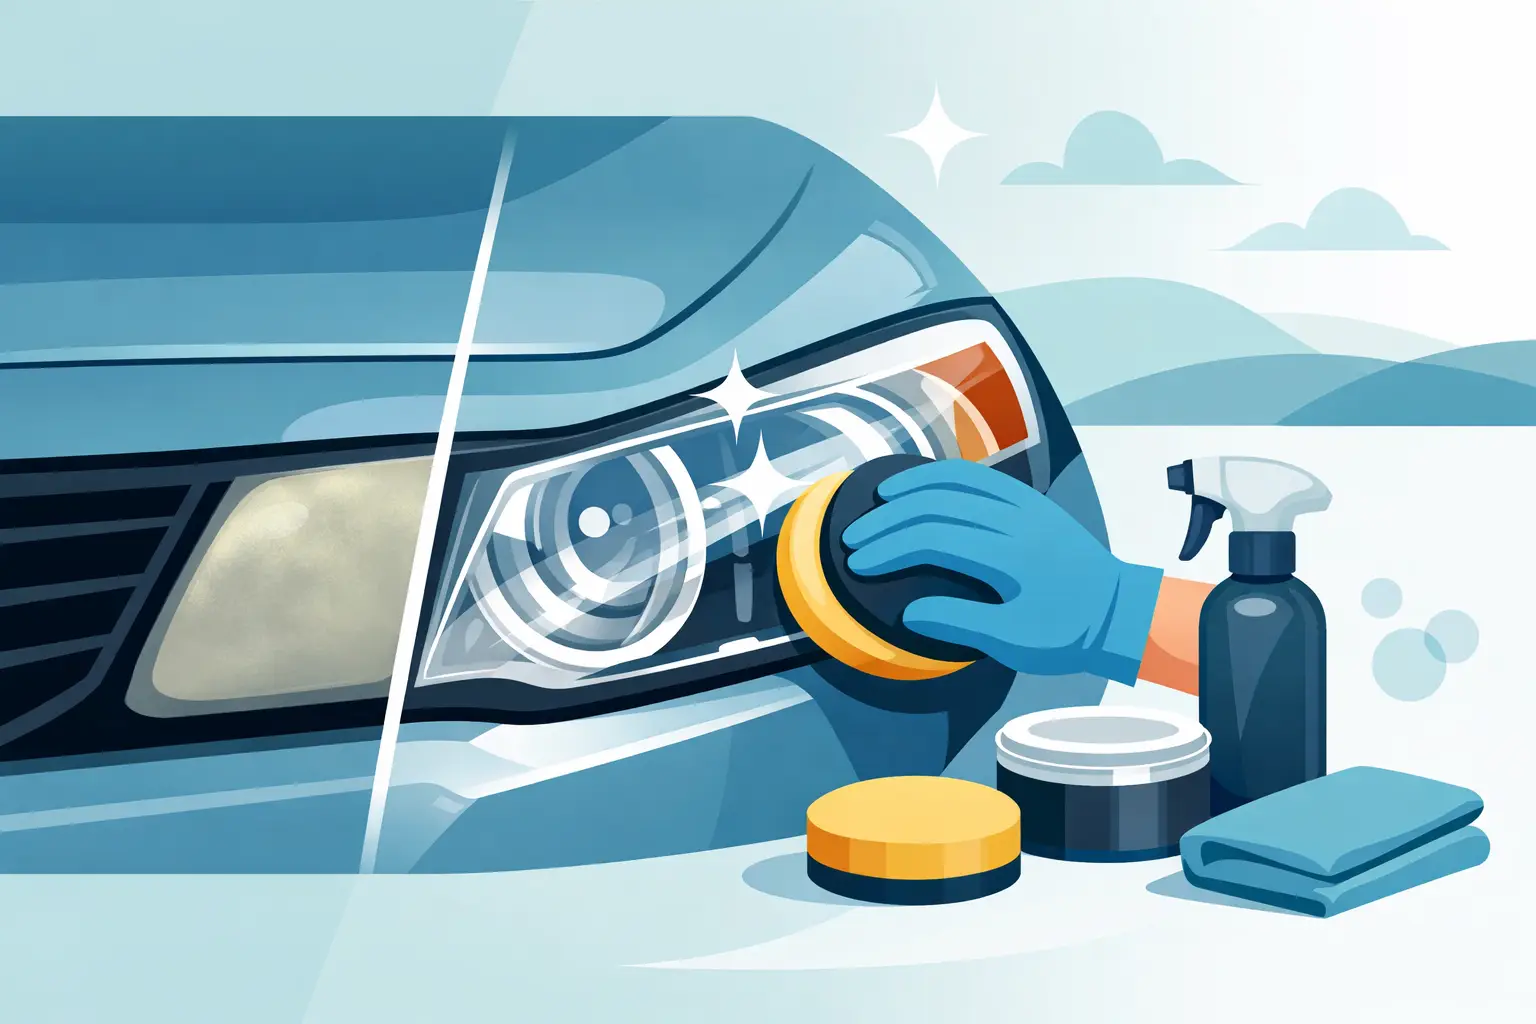
How to restore oxidized headlights at home
If the haze is moderate and the lens is not cracked or leaking, a DIY restoration can improve clarity. The basic process is straightforward. Clean the lens, sand away the damaged top layer, polish the surface, and then apply a new protective coating.
Start with a real inspection
Before you touch sandpaper, check what you are actually dealing with. If the lens is yellow and rough on the outside, that is usually oxidation. If it looks cloudy on the inside, or if you see heavy cracking, peeling, or trapped condensation, surface restoration may not solve it.
Run your hand across the lens. A rough, chalky feel points to outer-layer oxidation. A smooth lens with haze underneath points to a different problem.
Clean the area thoroughly
Wash the headlight and surrounding paint with soap and water. Dry it completely. Then mask off the paint, trim, and edges around the headlight with painter’s tape. This part matters more than people think. Sanding or polishing too close to exposed paint can leave marks you did not bargain for.
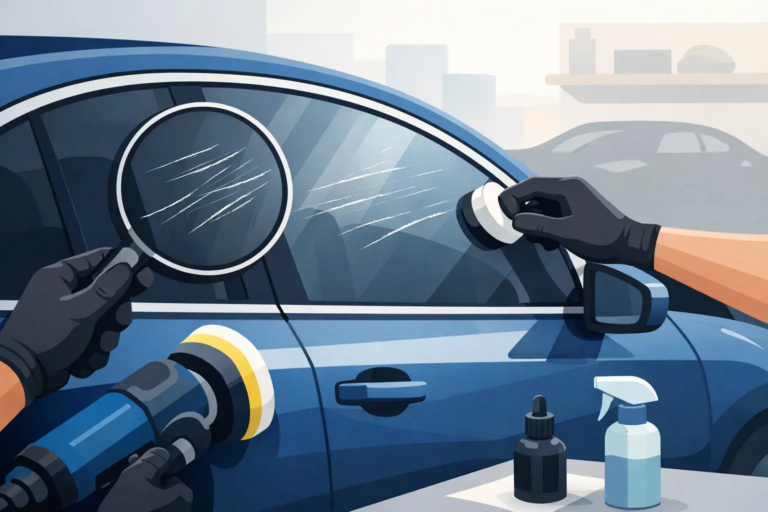
Sand the oxidized surface
Use wet sandpaper and keep the lens damp while you work. Many restoration jobs start with 800 grit if the oxidation is heavy, then move to 1000, 1500, and 2000 or 3000 grit. If the lens is only lightly hazed, you may start finer.
Sand in one direction with the first grit, then switch direction with the next. That helps you see whether the previous sanding marks are gone. The lens will look worse before it looks better. That is normal. You are removing the failed outer layer, not trying to create shine yet.
The trade-off is simple. If you sand too lightly, you leave damaged material behind and the haze returns quickly. If you sand too aggressively or unevenly, you can distort the surface and create deeper scratches that are hard to polish out.
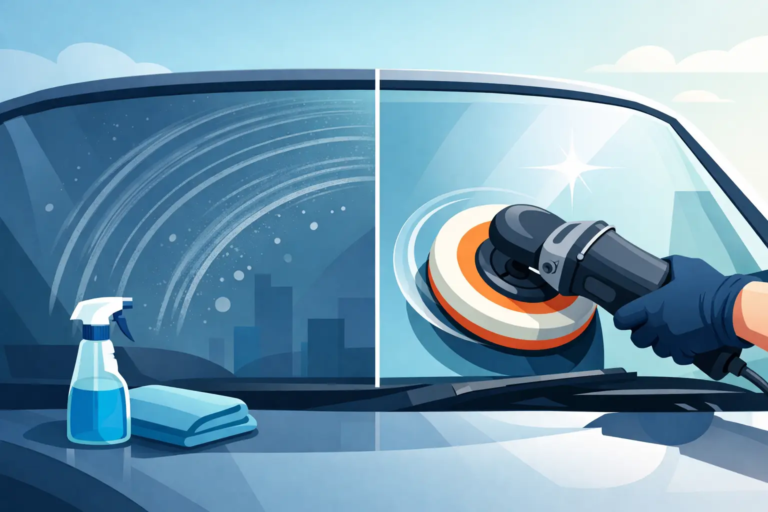
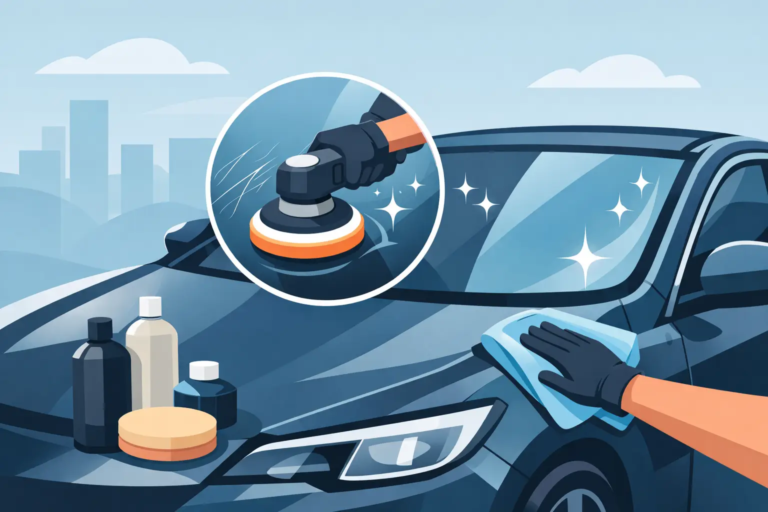
Polish to bring back clarity
Once the sanding marks are refined with finer grits, use a plastic polish or headlight polishing compound. This can be done by hand, but a polishing pad on a drill or dual-action polisher usually produces more even results. Work slowly and keep pressure controlled.
At this stage, the lens should start looking clear again. If it still appears patchy or dull, the earlier sanding steps may need more work. Polishing cannot fix inconsistent prep.
Seal the lens or the repair will not last
This is the step many DIY kits undersell. If you restore the surface and leave it unprotected, oxidation comes back fast. Sometimes it returns within weeks. A proper UV sealant, clear coat designed for headlights, or restoration wipe supplied in a quality kit is what gives the job a chance to hold up.
This is also where results vary the most. Some coatings are easy to apply but do not last long in strong Texas sun. Others last better but require more careful application and cure time. If you want the clearest result for the longest time, the finish coat is just as important as the sanding.
What usually goes wrong with DIY headlight restoration
A lot of drivers have tried a toothpaste trick, a magic eraser, or a quick rub-on cleaner and wondered why the clarity did not last. Those methods may remove some surface grime or temporarily brighten the lens, but they do not usually provide full correction or lasting protection.
The most common mistake is skipping the full process. People polish without sanding, or sand without sealing. Another issue is using the wrong materials. Household compounds and harsh abrasives can scratch the lens or strip what little coating remains without replacing it.
There is also the time factor. A proper restoration is not difficult in theory, but it does take patience. If you rush it, you end up with cloudy spots, swirl marks, or uneven clarity from one headlight to the other.
When professional restoration makes more sense
If you want better light output, a cleaner finish, and less guesswork, professional restoration is often the smarter move. This is especially true if the headlights are severely oxidized, if the vehicle matters to your business, or if you simply do not want to spend your Saturday testing products in the driveway.
A specialist can tell right away whether the lens is restorable or whether replacement is the better call. That saves time and prevents wasted effort. Professional restoration also tends to produce a more uniform result because the sanding, polishing, and protective finishing are done with the right tools and process.
For fleet vehicles, the decision is even easier. Cloudy headlights on trucks, school buses, or rental vehicles are not just an appearance issue. They affect driver visibility and present a poor image. Fast mobile restoration helps reduce downtime and keeps vehicles looking service-ready.
That is why many local drivers and fleet operators choose a specialist service instead of a general shop. At SuperGlass Denton, the focus is on repair and restoration first, which is often the most cost-effective path when the lenses can still be saved.
How long restored headlights last
It depends on the condition of the lens, the quality of the restoration, and how the vehicle is used. A rushed DIY job with minimal protection may fade quickly. A properly restored and sealed lens can stay clear much longer.
Texas weather is hard on exposed plastics, so maintenance matters. Parking in a garage helps. So does regular washing and avoiding overly aggressive chemicals. Some drivers also apply a UV protectant periodically to extend the result.
If one headlight is worse than the other, restore both. Matching clarity improves appearance and gives you more even light output.
How to tell if restoration is not enough
Some headlights are too far gone for a standard restoration to fully solve the problem. Deep interior haze, major cracks, broken mounting points, or recurring moisture inside the housing usually point to replacement or a larger repair.
There is also a practical threshold. If the lens can be improved but not brought back to safe, usable clarity, then partial improvement is not enough. A good technician should be honest about that. You want a repair-minded expert, not someone who promises miracles on a damaged assembly.
The smartest approach for most drivers
If your headlights are only lightly dull and you are comfortable with careful prep work, a DIY kit may be worth trying. Just use real restoration materials and do not skip the protective coating. If the oxidation is heavy, the vehicle is newer, or you want results that look professional and last longer, expert service usually saves frustration.
Headlight restoration is one of those jobs where the cheapest fix is not always the best value. Clearer lenses improve visibility, help your vehicle look cared for, and can keep you from replacing parts that still have life left in them. When the work is done right, you are not just polishing plastic – you are restoring useful performance where it counts most: on the road after dark.
If your headlights are getting harder to see through, treat that as a safety issue and not just a cosmetic one. The right repair at the right time can make night driving feel normal again.