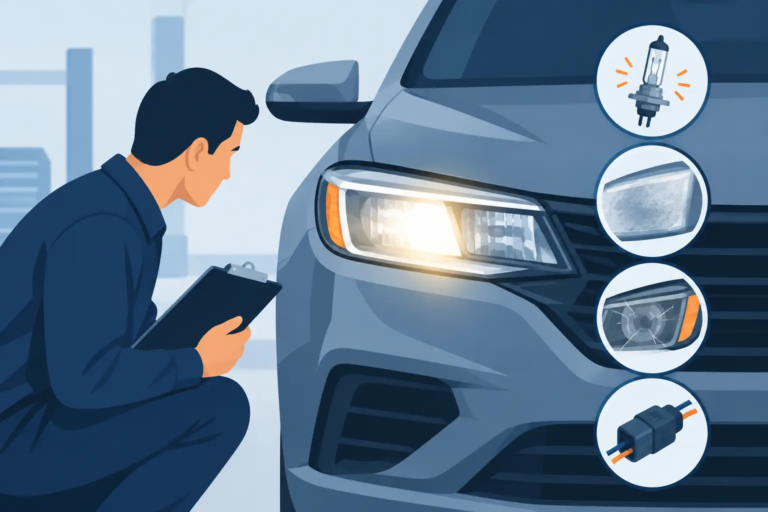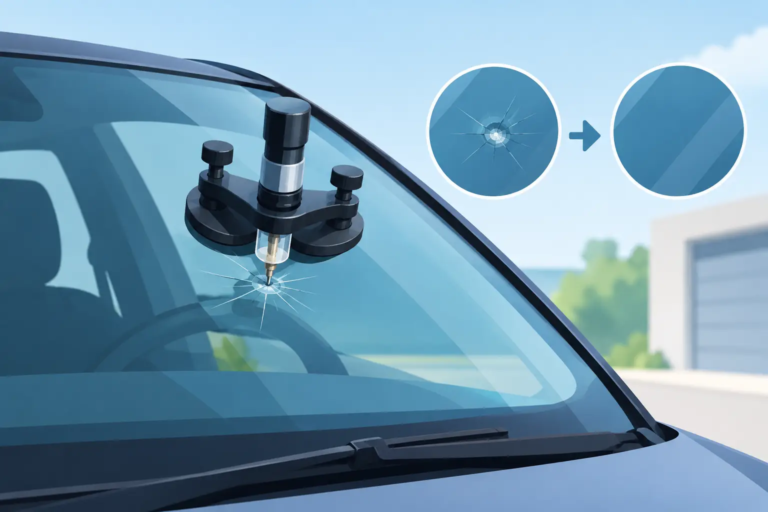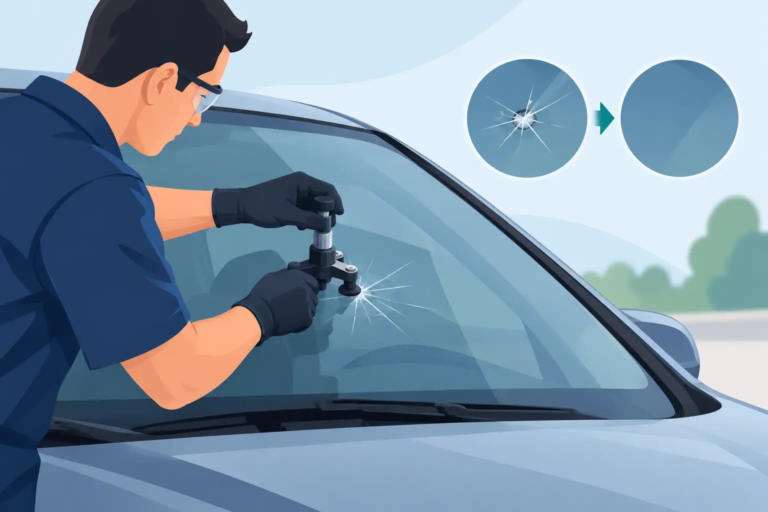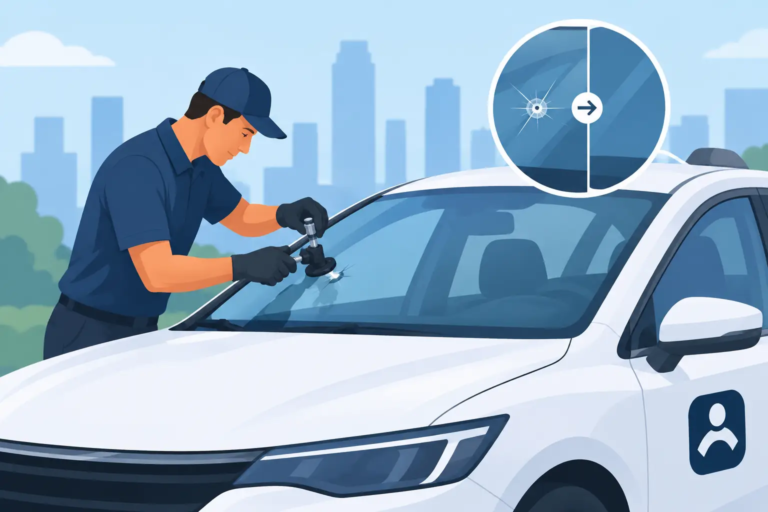
A yellow, cloudy headlight is more than an appearance problem. On a dark Denton back road, during a North Texas storm, or in heavy highway traffic, that haze can reduce the useful light reaching the road ahead. This headlight clarity restoration guide explains what causes the problem, when restoration makes sense, and how to get results that last.
Why Headlights Turn Cloudy
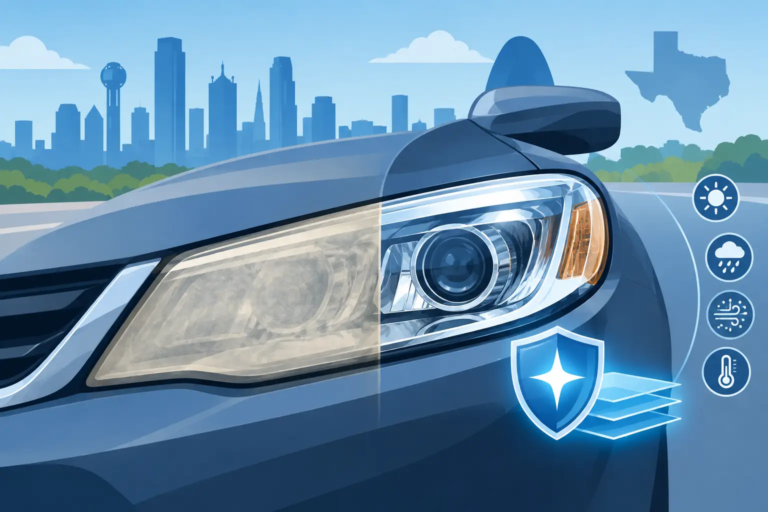
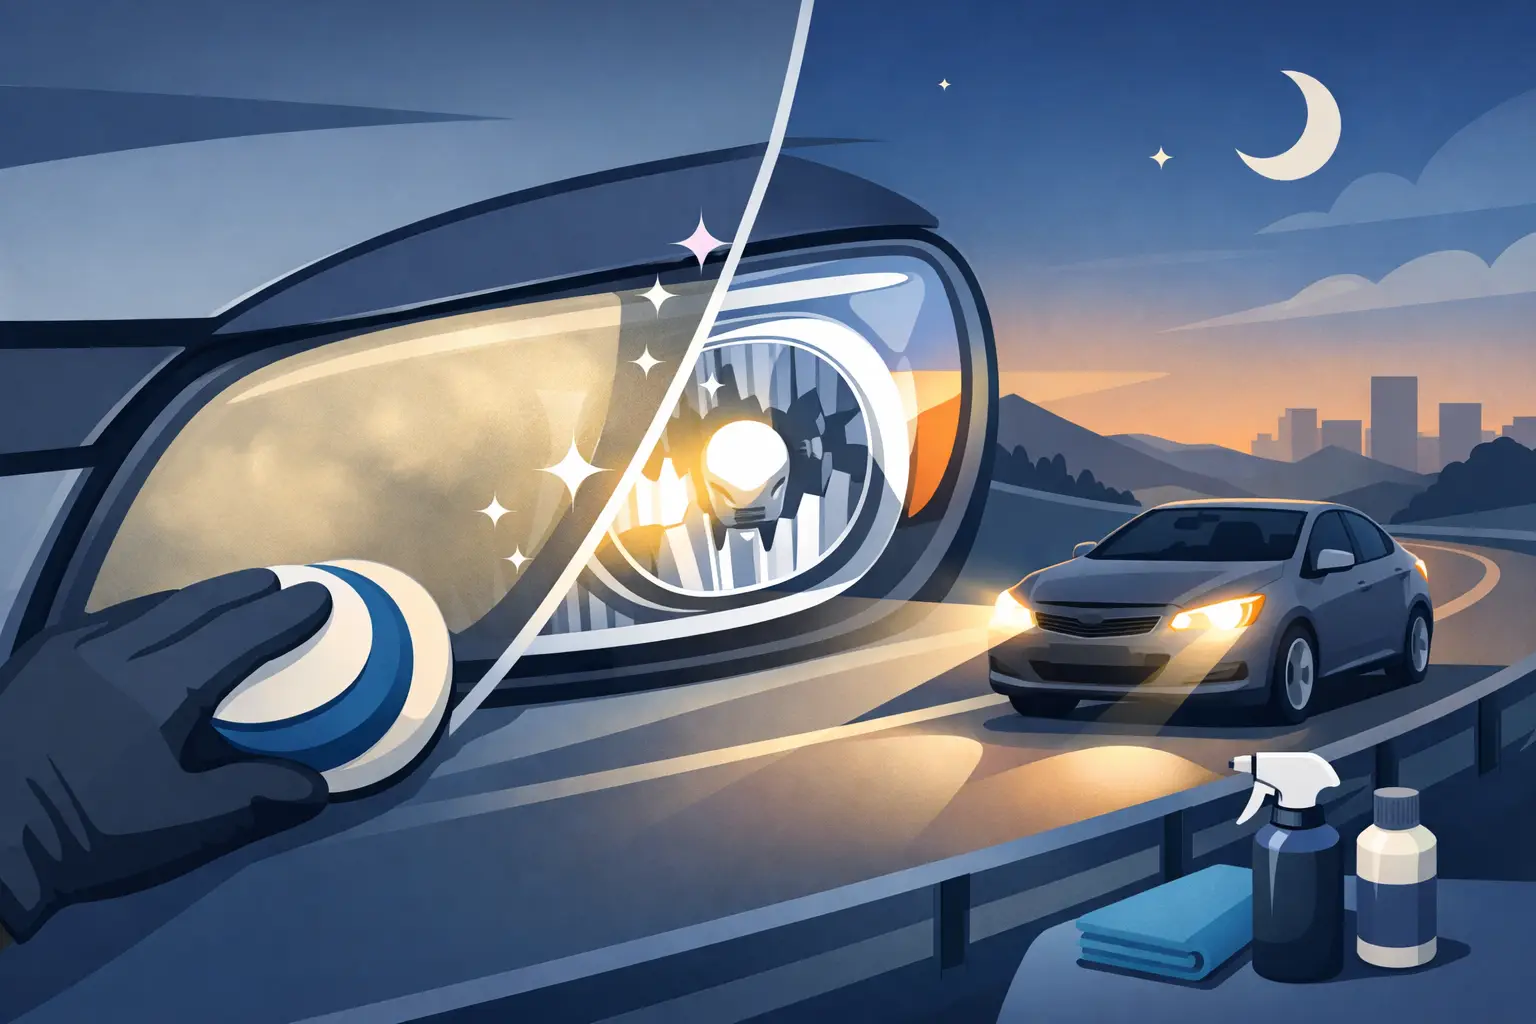
Most modern headlights use polycarbonate plastic lenses. They are durable, lightweight, and shaped to focus light effectively, but they are exposed to sun, heat, road grit, rain, bug residue, and car-wash chemicals every day. Over time, the factory UV-protective coating breaks down. The lens then oxidizes, creating the familiar yellow, milky, or dull appearance.
Texas weather accelerates that process. Intense sun and high temperatures can wear down the outer coating faster, especially on vehicles that spend most of the day outside. The damage may begin as a faint haze at the top of the lens, then spread until the entire headlight looks faded.
Cloudiness is not always surface oxidation, though. Moisture inside the housing, deep cracks, broken mounting points, or a lens that is damaged from the inside may require a different repair or replacement. A proper assessment comes first. The goal is to restore what can be restored, not sell a service that cannot produce a worthwhile result.
What Headlight Haze Does to Your Visibility
Headlights are designed to direct a controlled beam onto the road. When the lens is oxidized, light scatters before it leaves the housing. The result can be a dimmer beam, more glare for oncoming drivers, and less contrast on dark pavement.
Drivers often compensate without realizing it. They may turn on high beams more often, slow down on unlit roads, or assume the bulbs are failing. In some cases, new bulbs help very little because the cloudy lens remains the real obstruction.
Clearer headlights also help a vehicle look cared for. That matters if you are preparing to sell or trade in a car, but the stronger reason for restoration is practical: better visibility at night and in poor weather. For fleets, clear lenses help keep vehicles presentable and reduce avoidable maintenance concerns across the fleet.
Headlight Clarity Restoration Guide: Is Your Vehicle a Good Candidate?
Most exterior yellowing, dullness, and light surface scratching can be improved with professional restoration. The best candidates have oxidation on the outside of the lens, while the housing, seals, and internal reflector remain in good condition.
A headlight may need more than restoration if it has standing water inside, severe spiderweb cracking, a loose or broken housing, burned internal reflectors, or widespread damage beneath the lens surface. Those conditions can affect both the appearance and the beam pattern. An experienced specialist should be direct about the difference.
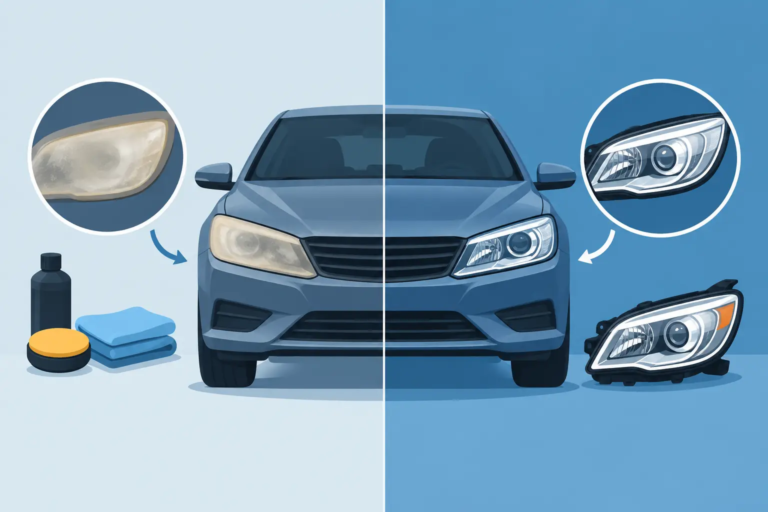
There is also a middle ground. Some lenses can be made much clearer even if they are not cosmetically perfect. On an older truck, work vehicle, school bus, or commuter car, restoring usable clarity may be the most sensible option when replacement assemblies are expensive. The right choice depends on the condition of the lens, the vehicle’s needs, and whether a restored surface can hold up properly.
What a Professional Restoration Should Include
A lasting headlight restoration is not just wiping on a quick polish. Polish can improve the appearance briefly, but it may leave degraded material and provide little UV protection. A quality repair addresses the damaged outer layer, refines the lens for clarity, and protects the finished surface.
The process typically begins with cleaning and closely inspecting the headlights. The surrounding paint, trim, and bumper area should be protected before any correction work begins. The oxidized surface is then carefully removed using the appropriate abrasive steps for the lens condition. That is followed by refining and polishing to bring back transparency.
The final protective step is where many fast fixes fall short. Once old UV protection has been removed, the lens needs a suitable protective coating or sealant to reduce future yellowing. The exact method can vary by lens condition and service provider, but skipping protection often means the haze comes back sooner than it should.
A good repair also considers both headlights as a pair. Restoring only one can leave a noticeable color and clarity difference from side to side. In many cases, treating both lenses at the same visit gives the vehicle a more even result and helps maintain consistent light output.
DIY Kits vs. Professional Headlight Restoration
DIY headlight kits can be useful for a lightly hazed lens when the owner is patient, follows every step, and applies durable protection afterward. They are usually inexpensive and readily available. For someone comfortable with careful sanding and finishing work, a kit may provide a short-term improvement.
The trade-off is consistency. It is easy to sand unevenly, miss edges, leave visible scratches, damage nearby paint or trim, or apply a coating that fails quickly. Some quick methods use toothpaste, household abrasives, or aggressive compounds. They may make a headlight look better for a few days, but they do not reliably correct oxidation or replace the lost protective layer.
Professional restoration is a better fit when the haze is heavy, the lenses are expensive, the vehicle is used for regular nighttime driving, or you want the work handled without giving up a weekend. Mobile service is especially useful for busy families, commuters, and fleet managers who cannot take vehicles out of service for a shop appointment.
At SuperGlass Denton, the focus is repair first. If a lens can be restored to a clear, useful condition, restoration can save the cost and downtime of replacing an entire headlight assembly.
How Long Does Headlight Restoration Last?
The honest answer is that it depends. No headlight lens is permanently immune to UV exposure, especially in North Texas. The lifespan of a restoration depends on the quality of preparation, the protection applied, where the vehicle is parked, how often it is driven, and how it is washed.
A properly restored and protected lens should last far longer than a quick polish. Parking in a garage or shaded area when possible helps. Regular washing also matters because dust, road film, and bug residue can slowly dull the surface. Avoid harsh solvents or abrasive pads on the lenses.
If you use a ceramic spray or protectant intended for exterior plastics, follow the product instructions carefully. It can supplement protection, but it should not be viewed as a substitute for correcting existing oxidation. Once headlights have become noticeably yellow or cloudy, cleaning alone will not bring back the missing clarity.
Signs You Should Schedule an Inspection
You do not need to wait until a lens turns completely yellow. Early attention can preserve more of the original surface and improve the final result. Consider a professional assessment if you notice any of these issues:
- A yellow, chalky, or milky film on the outside of the lens
- Headlights that look dim despite recently replaced bulbs
- Fine scratches, dull spots, or uneven cloudiness
- A visible difference in clarity between the left and right headlights
- Moisture, cracking, or damage that makes you unsure whether restoration is possible
For fleet vehicles, checking headlights during routine walkarounds is a practical habit. A small clarity issue is easier to address before it becomes a broader appearance, safety, or maintenance concern. Mobile service can also help reduce disruption when several vehicles need attention at one location.
Keep Clear Lenses From Becoming a Bigger Problem
Headlight restoration works best when it is treated as maintenance, not an emergency repair. If your lenses are starting to dull, acting now can improve nighttime confidence, refresh the vehicle’s appearance, and potentially avoid the higher cost of replacement assemblies.
The useful next step is simple: look at your headlights in direct daylight, then turn them on after dark. If the lens looks yellow, hazy, or noticeably dim, have a specialist determine whether the problem is surface oxidation or something deeper. Clearer headlights make every mile after sunset easier to see.