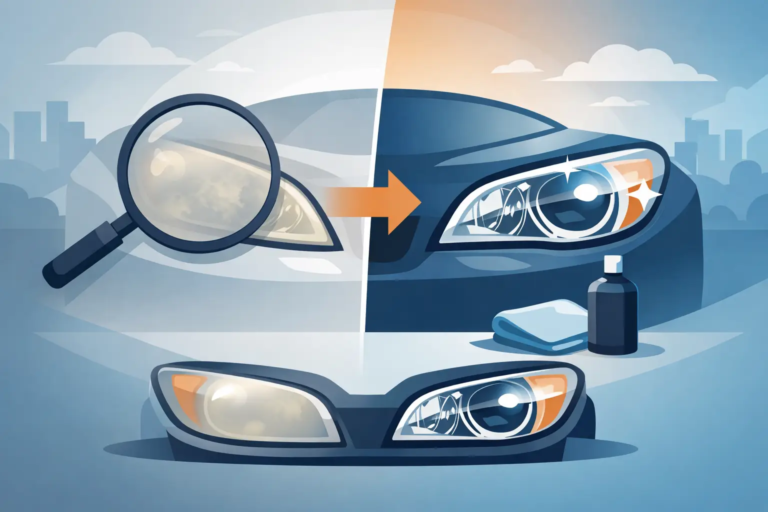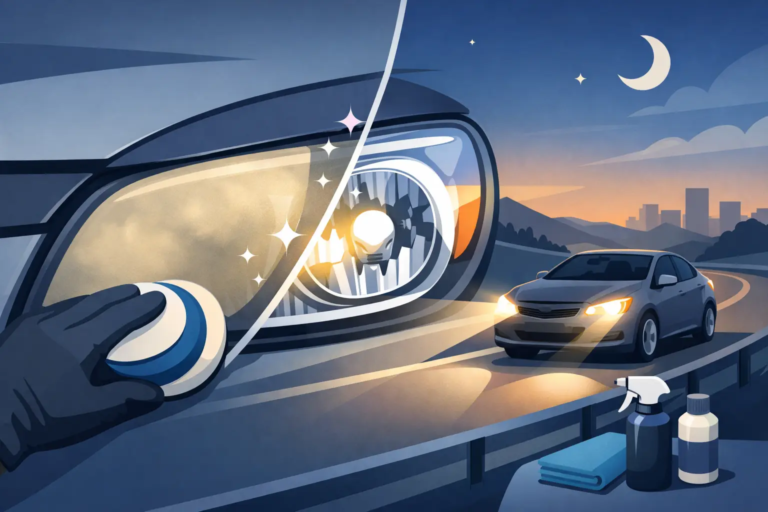
Cloudy headlights do more than make a vehicle look worn out. They cut down nighttime visibility, dull the beam pattern, and can turn an otherwise solid car into one that feels older than it is. If you have ever wondered how headlight lens restoration works, the short answer is this: it removes damaged oxidation from the lens surface, refines the plastic, and seals it so light can pass through clearly again.
That sounds simple, but the quality of the result depends on what is actually causing the haze, how far the damage has gone, and whether the lens is restored correctly. A quick wipe with a store-bought product may improve appearance for a little while. A proper restoration is about restoring clarity in a way that lasts and improves function, not just shine.
Why headlight lenses turn cloudy in the first place
Most modern headlights are made from polycarbonate plastic, not glass. That material is strong and lightweight, which is good for vehicle design, but it does have a weakness. Over time, UV exposure, road debris, weather, car wash abrasion, and general wear start breaking down the outer protective layer.
Once that surface begins to fail, the lens can turn yellow, cloudy, or hazy. In some cases it also develops a rough, chalky feel. The beam from the bulb still exists, but the damaged lens scatters the light instead of letting it pass through cleanly. That means less usable light on the road and more glare in the wrong directions.
In North Texas, sunlight and heat only speed that process up. Vehicles parked outside every day usually show lens damage sooner than garage-kept vehicles. Fleet vehicles often have it even worse because they spend more time on the road and rack up more exposure in less time.
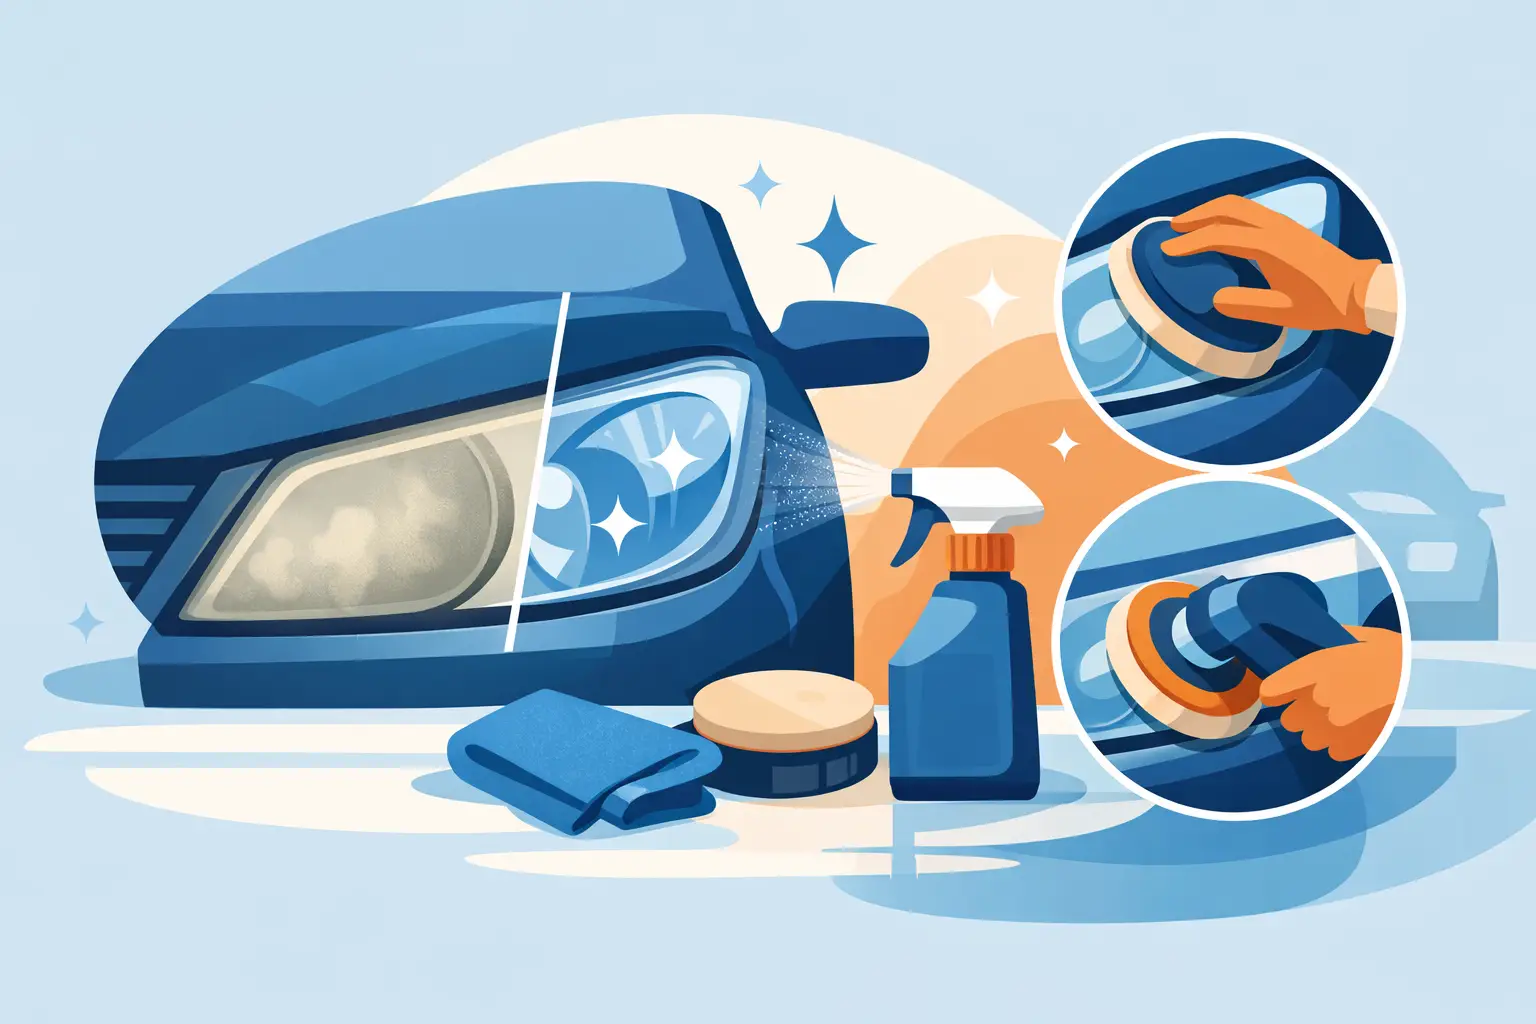
How headlight lens restoration works step by step
The real answer to how headlight lens restoration works is surface correction. The damaged outer layer has to be removed in a controlled way, then the lens has to be refined and protected.
Step 1: Cleaning and inspection
The first step is making sure the problem is actually on the outside of the lens. Dirt, traffic film, bug residue, and wax buildup can make a headlight look worse than it is. A proper cleaning reveals the true condition of the plastic.
This is also when a technician checks for deeper issues. If there is moisture inside the housing, internal haze, cracking, or heat damage from the bulb assembly, restoration may improve only part of the problem. Not every bad-looking headlight can be fully corrected from the outside.
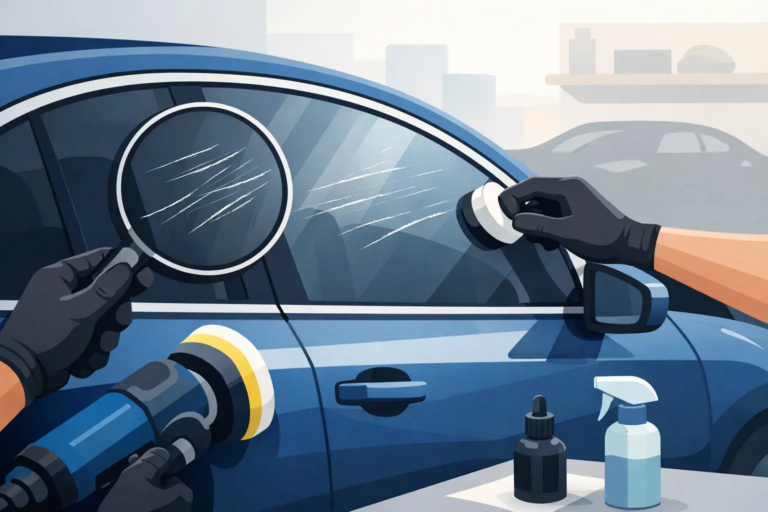
Step 2: Removing oxidation and damaged plastic
Once the lens is inspected, the oxidized outer layer is removed. This is usually done by sanding or abrading the surface in stages. The goal is not to aggressively grind the lens down. The goal is to remove only the failed layer evenly.
This step matters because yellowing and cloudiness are usually not just sitting on the lens like dirt. They are part of the damaged surface itself. If that layer stays in place, no polish or coating will produce a clear, lasting result.
A rushed job often skips proper leveling and leaves patchy clarity. That is why some headlights look better for a week and then go right back to being dull.
Step 3: Refining the surface
After the oxidation is removed, the lens surface is smoother than before in some places and still visibly scratched from sanding in others. It has to be refined through progressively finer steps until the plastic becomes optically clear again.
This is where technique separates a real restoration from a cosmetic touch-up. Too coarse, and the lens stays hazy. Too aggressive with heat or buffing pressure, and the plastic can distort. The process needs the right balance of correction and control.
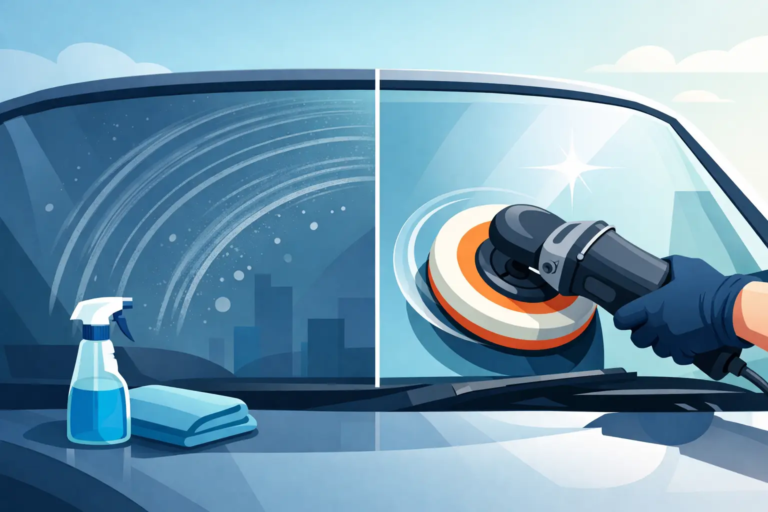
Step 4: Polishing for clarity
Once the heavy damage is removed and the sanding marks are refined, polishing brings back transparency. Polishing does not fix oxidation by itself. It improves clarity after the damaged material has already been removed.
Think of it as the stage that makes the lens look like a headlight again instead of a sanded piece of plastic. When done correctly, light transmission improves because the lens is no longer diffusing the beam through a rough, deteriorated surface.
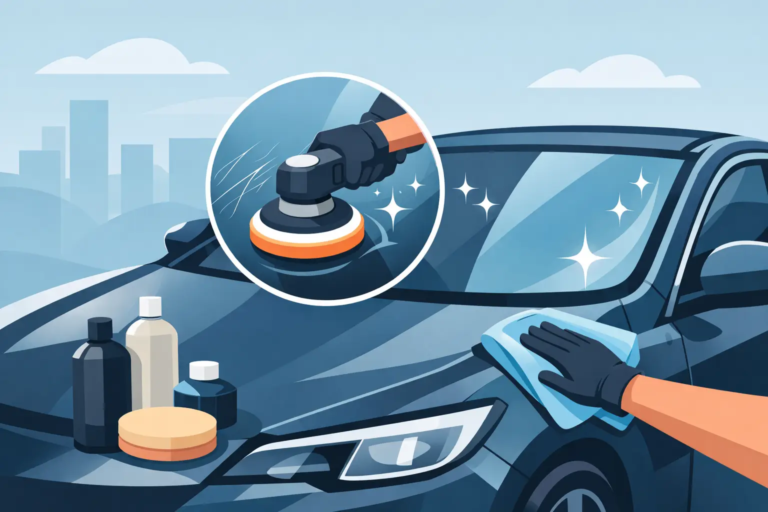
Step 5: Applying protection
This is the step many cheap or temporary restorations get wrong. After the lens is corrected, it needs a new protective layer. Without that barrier, the exposed plastic can start oxidizing again much faster.
A professional restoration typically includes a UV-resistant sealant or coating designed to protect the lens from sun exposure and future breakdown. That final layer is a big reason one restoration lasts while another fades quickly.
What restoration actually fixes and what it does not
Headlight restoration is excellent for oxidation, yellowing, surface haze, and light to moderate wear on the outer lens. It can often make a major difference in both appearance and usable light output.
It does not fix every headlight issue. If the lens is deeply cracked, the interior of the housing is burnt or fogged, or the reflector inside the assembly is failing, restoration may not return the headlight to like-new condition. In those cases, replacement may be the better option.
That is where honest inspection matters. A specialist should be able to tell you whether restoration will solve the problem or whether the damage has gone beyond what surface correction can address.
Why professional restoration usually lasts longer
DIY kits have their place. If the damage is very minor and you are comfortable doing the work, a kit may improve the look for a while. The trade-off is consistency and durability.
Most vehicle owners are not restoring headlights every day. A specialist does. That experience matters because headlight restoration is one of those services that looks easy until the result comes out uneven, over-sanded, or short-lived.
Professional restoration usually lasts longer for three reasons. First, the surface prep is more thorough. Second, the correction process is more controlled. Third, the protective finish is usually better than what comes in a basic retail kit.
For busy drivers and fleet operators, there is also the convenience factor. Getting the job done right the first time saves repeat work, downtime, and the frustration of chasing a temporary fix.
How headlight lens restoration works for safety, not just looks
A lot of people call for headlight restoration because the vehicle looks tired. That is understandable. Yellow headlights can make even a well-maintained car look neglected.
But the bigger issue is visibility. Dim, scattered headlights make it harder to see lane lines, road signs, debris, and pedestrians at night. That is not just an appearance problem. It is a driving safety problem.
For commercial vehicles, that matters even more. Trucks, school buses, and fleet units spend serious time on the road, often early or late in the day. Restored headlights can help drivers see better and help vehicles present a more professional image at the same time.
When to restore headlights instead of replacing them
If the lens damage is mainly on the outside and the housing is still structurally sound, restoration is usually the smarter value. It costs less than replacement, avoids unnecessary parts costs, and can deliver a strong result when done properly.
Replacement starts making more sense when the assembly has internal damage, broken mounts, major cracking, or severe deterioration that has gone beyond the lens surface. It depends on condition, not just age.
That is one reason specialist repair matters. A general replacement-first approach can cost more than necessary. A repair-focused company like SuperGlass Denton is built to save components when they can still be restored correctly.
How to tell your headlights need attention
If your headlights look yellow in daylight, seem weak at night, or still appear dull after washing the car, they are probably past the point of simple cleaning. A cloudy lens usually does not improve on its own.
Another sign is uneven output. If the bulbs are working but the road still looks poorly lit, the lens may be scattering the beam. Drivers often replace bulbs first and then realize the real problem was the headlight surface all along.
The best time to restore headlights is before the damage gets severe. Early restoration usually gives better results and helps avoid the need for more expensive replacement later.
Clear headlights are one of those details people notice only when they stop working the way they should. If yours are fading, the fix is often much simpler than replacing the whole assembly – and a lot more cost-effective when handled by someone who knows exactly what they are doing.