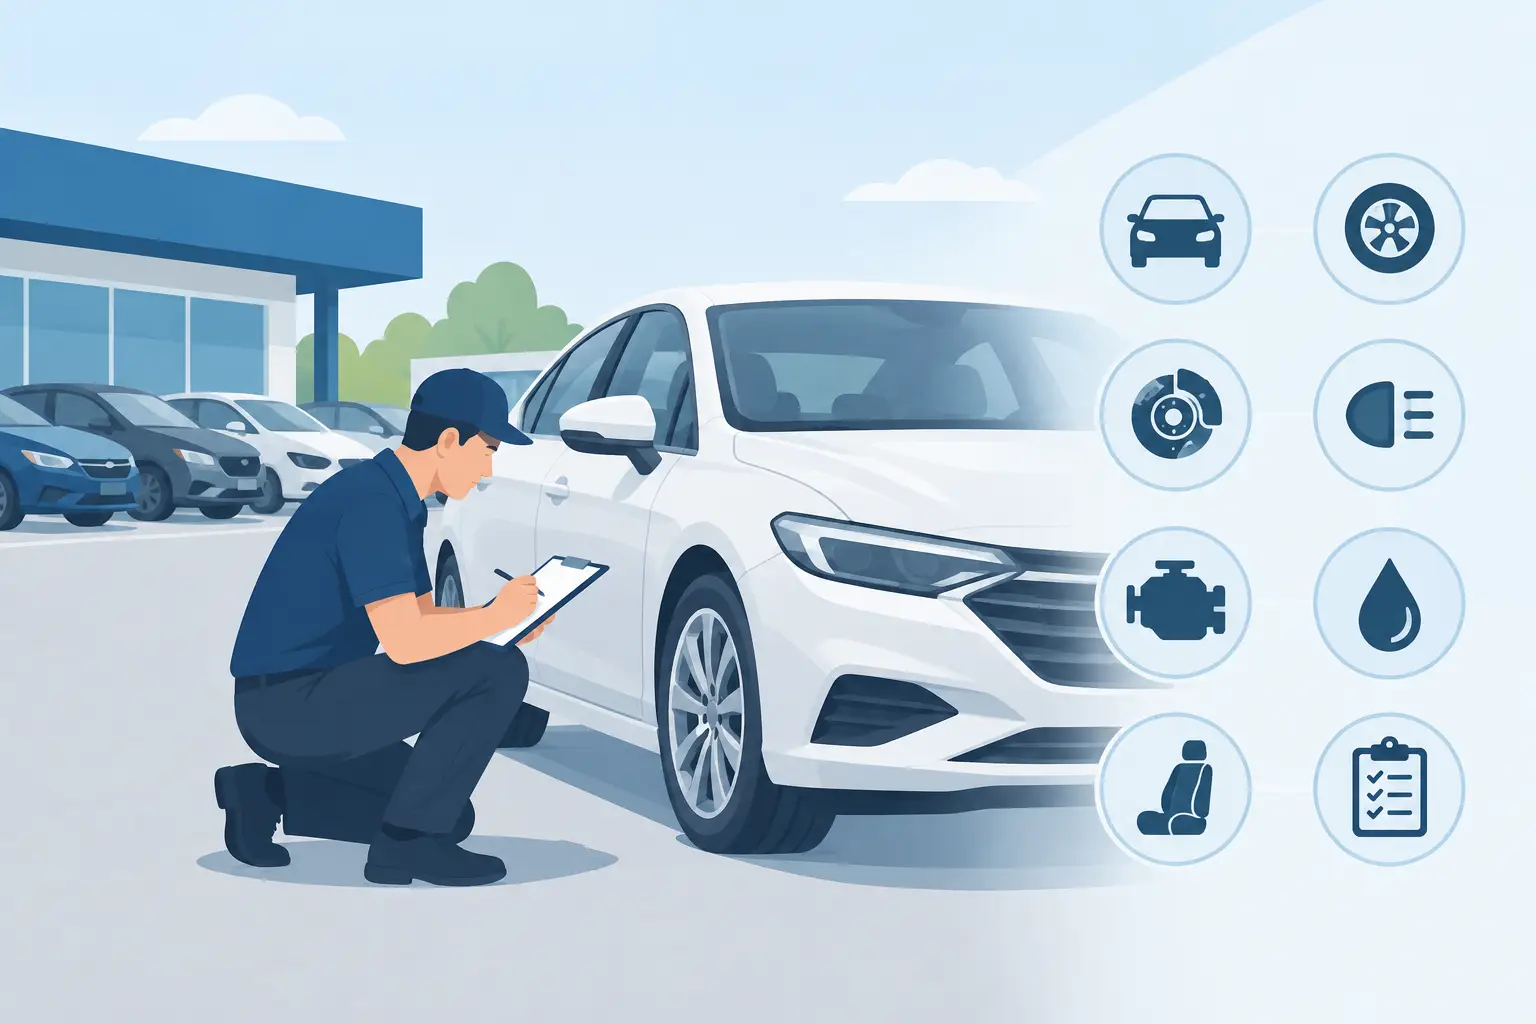
A rental counter is a bad place to discover that a small windshield chip, bumper scuff, or cloudy headlight is already on the vehicle. Yet that is exactly what happens when a rushed walk-around gets treated as a formality. This guide for rental vehicle inspections gives North Texas drivers a practical way to document the car before leaving the lot, so pre-existing damage does not become an expensive surprise later.
The process takes about 10 minutes. It is especially worthwhile when you are picking up at night, traveling with family, using a vehicle for work, or renting a truck, van, or SUV that will see heavier use. The goal is not to find a perfect vehicle. It is to make sure the condition you receive is clearly documented and safe to drive.
Why a Careful Inspection Protects You
Rental companies move vehicles quickly. Most do a condition check between customers, but small marks can be missed, especially in poor lighting or when a vehicle is returned during a busy period. A fresh-looking scratch on a door or a chip near the edge of the windshield may not be obvious until the car is parked in daylight.
Photos, video, and written notes establish a simple baseline: this was the vehicle’s condition when you received it. That baseline can help settle a billing question, but it also lets you identify issues that need attention before the drive begins. A crack that is already spreading across the windshield or a tire with visible sidewall damage is not just a paperwork issue.
Do not assume a mark is too minor to mention. Rental companies may have their own thresholds for documenting cosmetic damage, but your job is to record what you see and ask the agent to note anything questionable.
Start Before You Leave the Pickup Area
Inspect the vehicle before you load luggage, install a child seat, or drive out of the garage. If the location is dark, ask to move the vehicle into better light or use your phone flashlight. A flashlight is particularly useful for glass, headlights, wheels, and low sections of bumpers.
Open your phone camera first. Take a wide video of all four sides, then move slowly around the car at a closer distance. Say the date and vehicle number out loud if you want an easy reference point later. Photos work well too, as long as they are clear, time-stamped, and show where the damage sits on the vehicle.
Keep your rental agreement and the company’s inspection form handy. Compare the marks you find with what is already listed. If something is missing, bring it to the counter before departure and ask for written acknowledgment. A verbal “we know about that” is not nearly as useful as a notation on the agreement or a confirmation in the rental company’s app.
1. Walk Around Every Exterior Panel
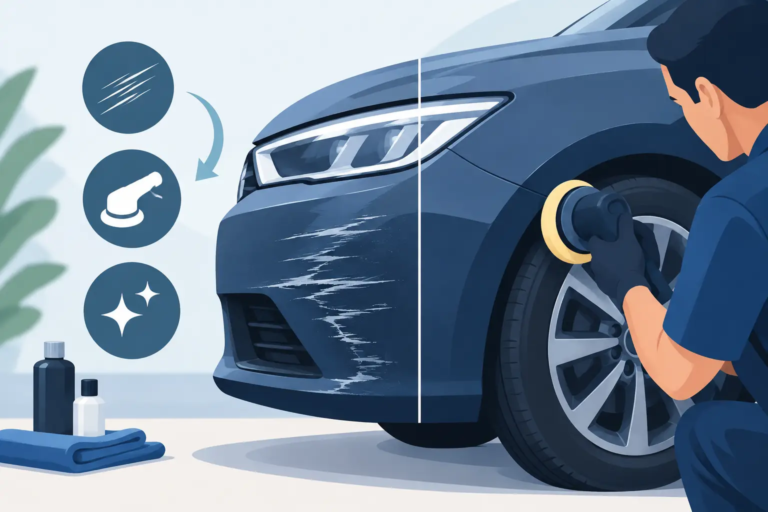
Make one complete pass around the vehicle without skipping the roofline, lower doors, rocker panels, bumpers, mirrors, and rear hatch. Look for dents, paint transfer, scratches, cracked trim, and loose parts. Curb rash on wheels is common, but it can be easy to overlook until the return inspection.
Pay close attention to surfaces that are harder to see from standing height. Crouch near the corners of the vehicle and look along the side panels. Reflected light often reveals dents and scratches that disappear when viewed straight on.
A small scuff does not necessarily mean the rental should be rejected. The practical question is whether it has been documented and whether it affects safe use. A loose bumper cover, damaged mirror, or wheel that appears bent deserves immediate attention from the rental staff.
2. Give the Windshield and Glass Extra Attention
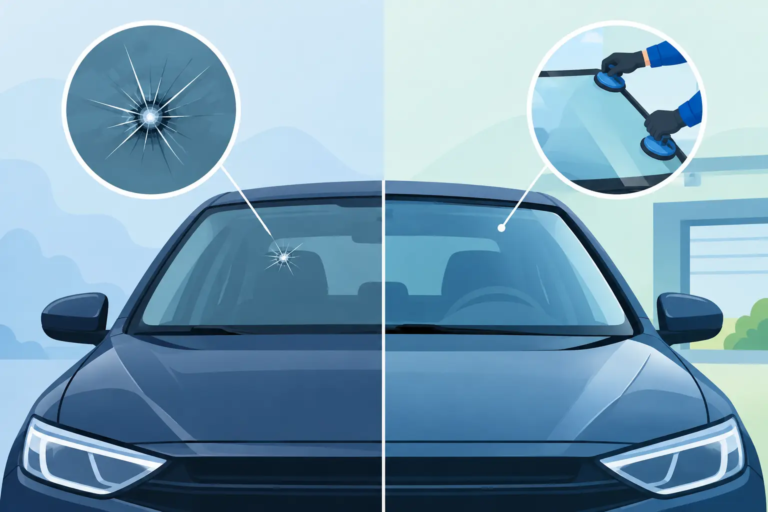
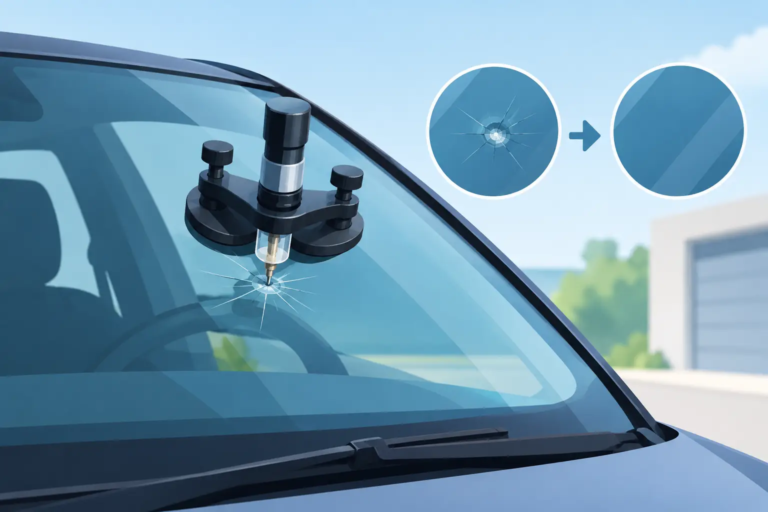
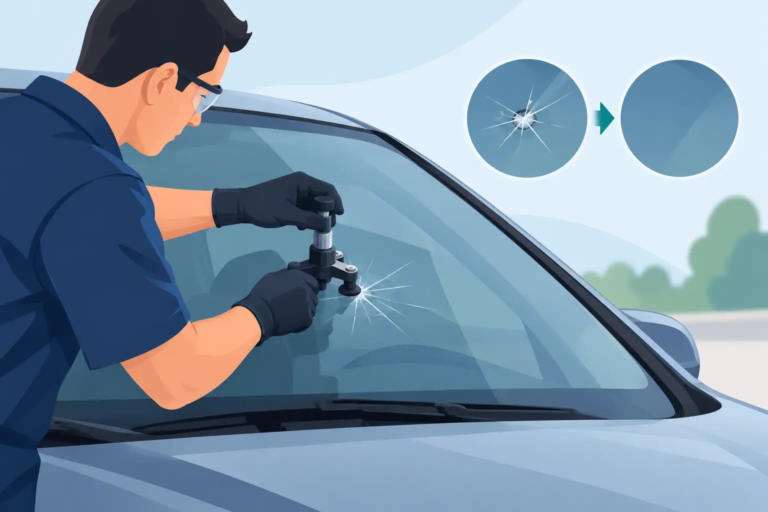
Windshield damage deserves a closer look than a quick glance through the glass. Inspect from outside and inside the vehicle, including the lower edge near the wipers and the corners near the roof pillars. Look for chips, stars, bull’s-eyes, cracks, and pitting that may catch sunlight during the drive.
A tiny chip can spread when temperatures change, especially during a hot North Texas afternoon followed by a cool evening. If you find a chip, photograph it up close and from a few feet back so its location is clear. Ask the rental agent to document it even if it looks small.
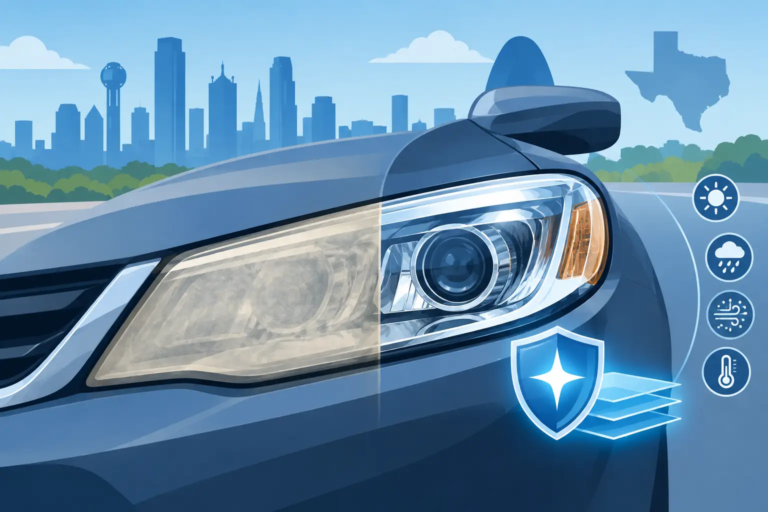
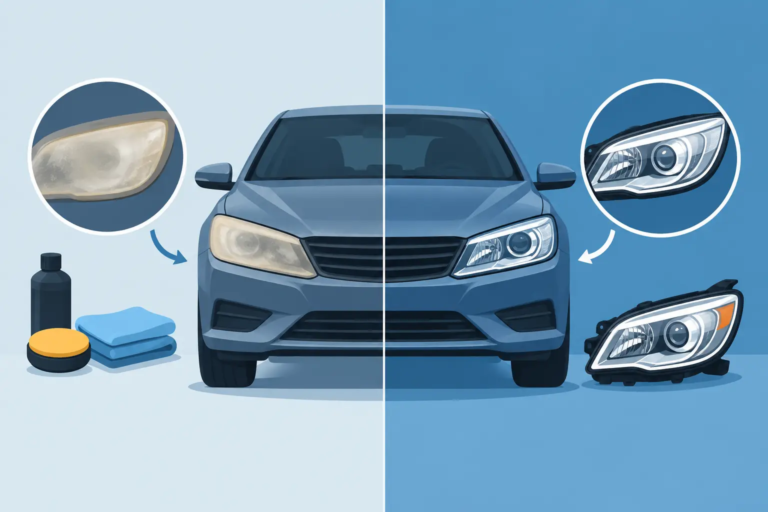
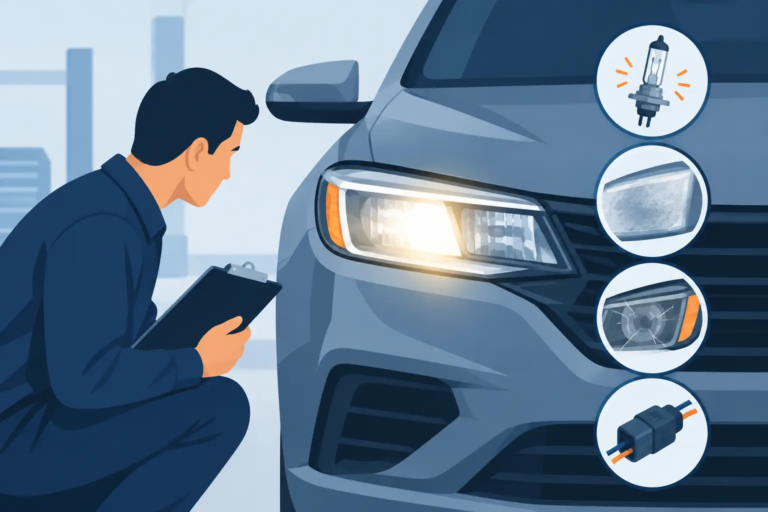
Check the side windows, rear glass, mirrors, and windshield wipers as well. A wiper blade that is torn or dragging can scratch glass during a rainstorm. Hazed or heavily yellowed headlights are another concern because reduced light output can make night driving less safe.
If a windshield crack is in the driver’s direct line of sight, extends to an edge, or appears to be growing, request another vehicle. That is not a cosmetic condition to ignore. Repair can often save damaged glass when addressed early, but renters should not accept responsibility for a repair that was needed before pickup.
3. Check Tires, Lights, and Basic Safety Equipment
You do not need to be a mechanic to spot obvious safety problems. Walk around the tires and look for low pressure, exposed cords, sidewall cuts, deep cracking, or a visibly uneven ride height. Check that the vehicle has its spare tire or tire mobility kit if the rental agreement says it should.
Turn on the headlights, brake lights, turn signals, and hazard lights before leaving. Have a travel companion stand behind the vehicle if possible. If you are alone, use reflections in nearby windows or ask an employee for help.
Inside the vehicle, confirm that the fuel level and mileage match the agreement. Locate the registration, insurance information, roadside assistance instructions, and any charging cable or toll tag the company says is included. For an EV or hybrid, verify the charging level, connector type, and return policy before you hit the road.
4. Inspect the Interior Like a Driver, Not a Passenger
The interior matters for comfort, cleanliness, and liability. Check seats, door panels, carpets, cargo space, dashboard screens, and the headliner for stains, tears, burns, pet hair, or odors. Photograph anything that could later be treated as a cleaning issue.
Then sit in the driver’s seat and test the essentials. Adjust the mirrors, fasten the seat belt, start the vehicle, and confirm that no warning lights remain on after startup. Test the air conditioning, heat, horn, backup camera, and windshield washers.
A warning light does not always mean a serious mechanical problem. Some systems can display a maintenance notice or tire-pressure alert after service. Still, do not decide what it means on your own. Ask the rental staff, record their response, and request a different vehicle if the answer is unclear or the warning affects safety.
5. Take a Short, Focused Test Drive
Before committing to a long trip, drive slowly through the rental lot or an approved nearby area. Listen for grinding, squealing, vibration, steering pull, or unusual braking behavior. Make sure the transmission shifts normally and the steering wheel feels centered.
If something feels wrong, return immediately. The sooner an issue is reported, the easier it is to show that it was not caused during your rental. Waiting until you are several hours down the road can turn a simple vehicle exchange into a much bigger interruption.
6. Know What to Do When You Find Damage
For cosmetic damage, request documentation and keep your own photos. For damage that affects visibility, lighting, tires, mirrors, brakes, steering, or vehicle security, ask for a replacement vehicle. It may be inconvenient at the counter, but it is better than losing valuable travel time later or driving something you do not trust.
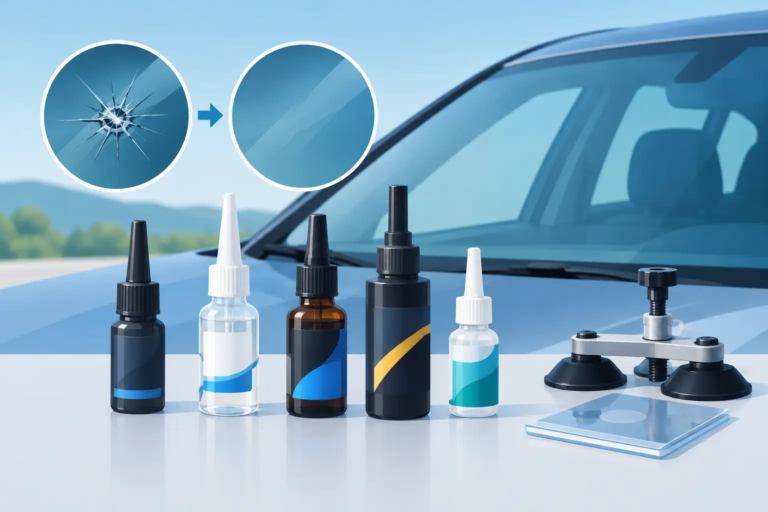
If glass damage is discovered after you have already left, notify the rental company right away and follow its instructions. Do not use tape, household adhesives, or an improvised repair kit unless the company specifically approves it. Those attempts can make professional repair more difficult and may create a dispute about the condition.
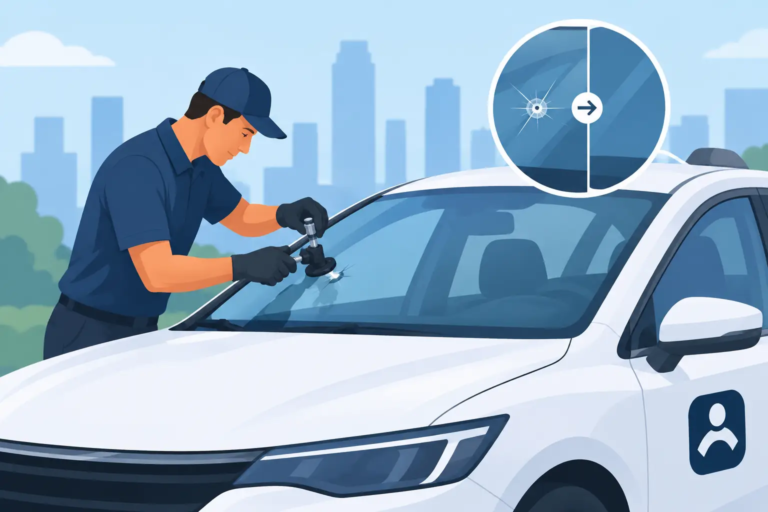
For local fleet operators, a consistent inspection process matters even more. Drivers should use the same photo sequence and reporting standard every time. When windshield chips, headlight haze, and surface scratches are reported early, repair is often faster and less costly than waiting until the vehicle is pulled from service. SuperGlass Denton provides mobile specialist repair for fleets and local drivers who need a clear answer on whether existing glass or surface damage can be restored rather than replaced.
7. Repeat the Process at Return
Do not wait for the final minute to inspect the rental again. Park in a well-lit area, remove personal belongings, and take a fresh set of photos or video of the exterior, interior, fuel gauge, mileage, and any new damage. Keep the return receipt until the final rental charge has posted.
If a new chip, scratch, or dent happened during your trip, report it honestly and promptly. Your rental coverage, personal auto policy, or credit card benefit may apply, depending on the terms. The details vary, so avoid assuming that any one form of coverage automatically handles every type of damage.
A thorough inspection is not about being difficult at the rental counter. It is about leaving with a safe vehicle, a clean record of its condition, and the confidence to focus on the road ahead.