North Texas sun can turn clear headlight lenses dull surprisingly fast. Learning how to protect headlights is not just about keeping your vehicle looking newer. Clear lenses put more usable light on the road, help other drivers see you, and can prevent a simple maintenance issue from becoming a failed inspection or an expensive replacement decision.
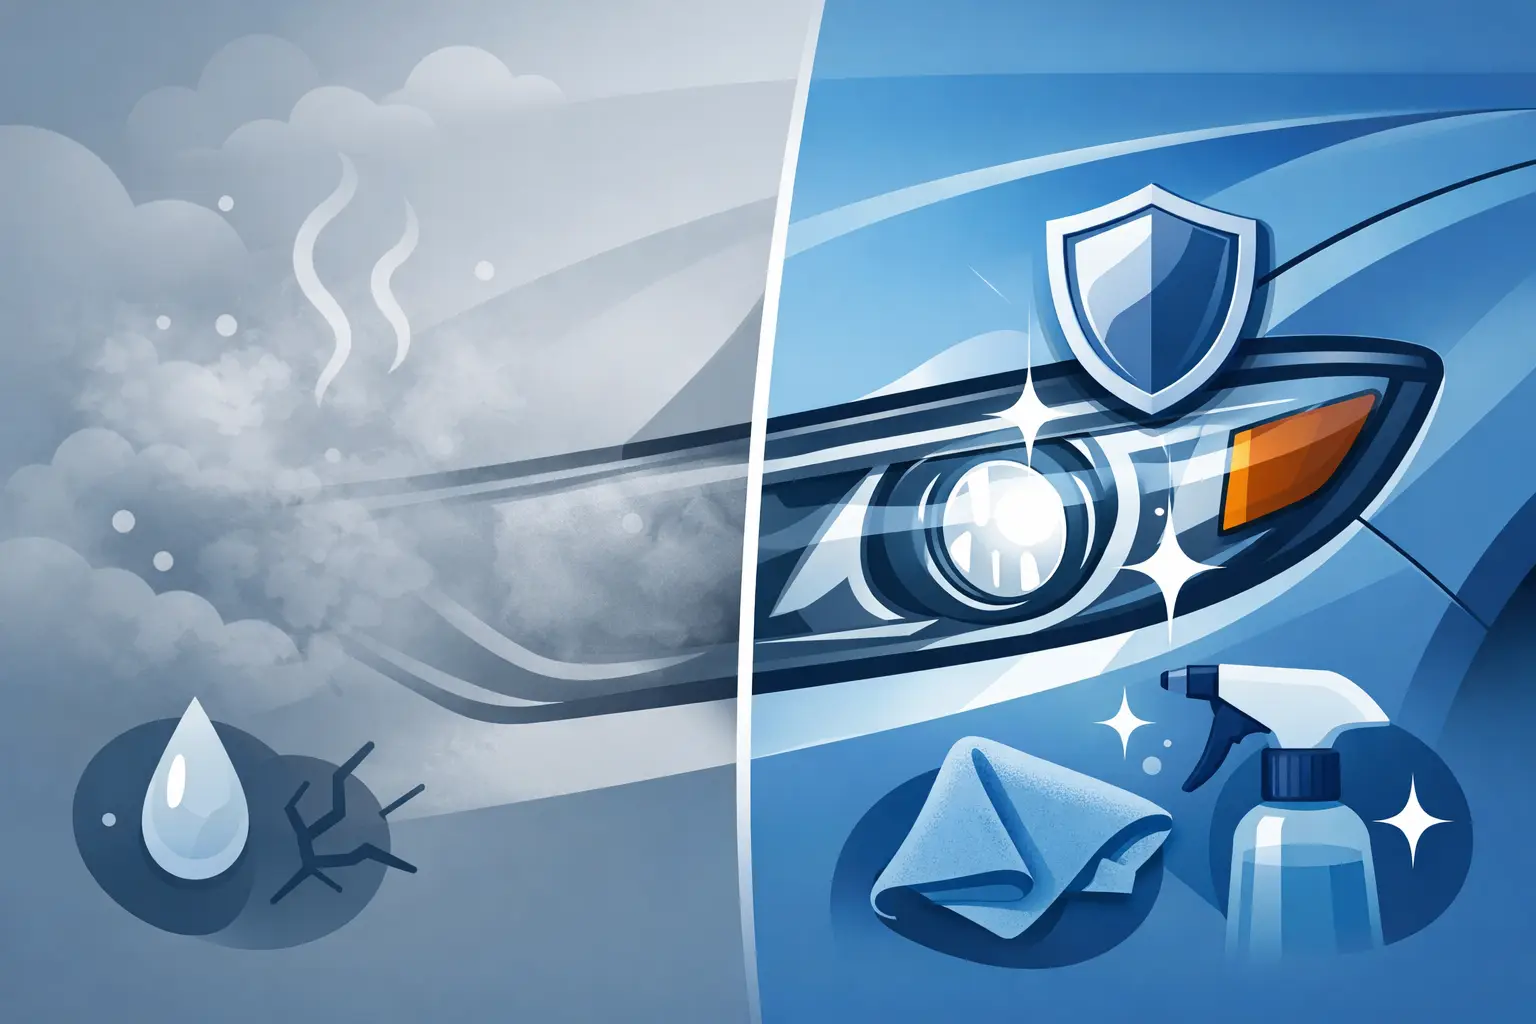
Most modern headlights use polycarbonate plastic rather than glass. It is lightweight and impact-resistant, but it takes a beating from UV rays, heat, highway debris, bug residue, car-wash chemicals, and the constant grit of daily driving. Over time, that clear outer surface can yellow, haze, crack, or develop a rough texture that scatters light instead of projecting it where you need it.
Why Headlight Protection Matters in North Texas
A hazy lens does more than hurt curb appeal. When the protective coating breaks down, light output can drop and your beam pattern can become less effective. That matters on unlit county roads, during heavy rain, and on early-morning commutes when a clean windshield and strong headlights make a real difference.
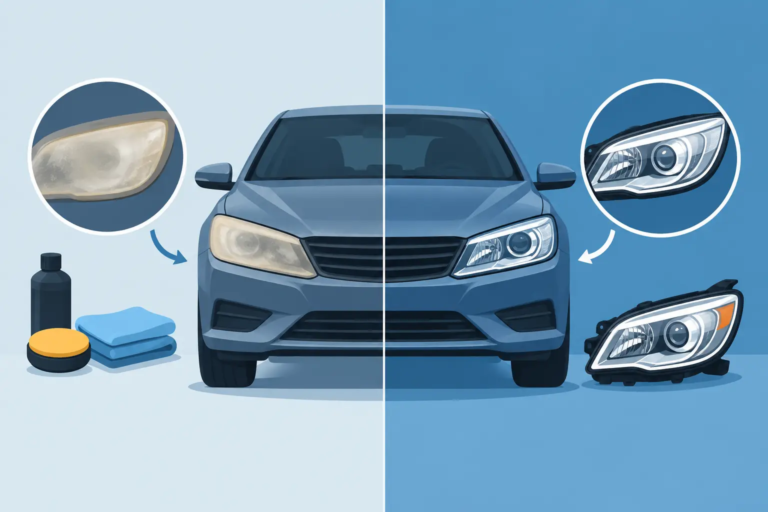
The earlier you protect a lens, the easier the job is. Light surface haze may respond well to proper cleaning and a quality UV protectant. Deep yellowing, peeling factory coating, moisture inside the housing, or cracks in the lens require a closer look. Trying to cover serious damage with a quick spray can hide the problem for a short time without solving it.
For fleet vehicles, the issue can add up quickly. Trucks, school buses, and rental vehicles spend more time exposed to sun and road debris, so small changes in headlight clarity can become a repeat maintenance expense. Consistent care helps keep vehicles safer, more presentable, and out of the shop.
How to Protect Headlights Before They Turn Yellow
The most dependable approach is simple: clean the lenses safely, limit UV exposure when possible, and renew their protection before the surface deteriorates. Headlights do not need complicated weekly treatment, but they do benefit from regular attention.
Wash the lenses with the rest of the vehicle
Road film, dead bugs, tree sap, and brake dust can stick to headlights and slowly wear on the surface. Wash them with a pH-balanced car soap and a clean microfiber mitt. Rinse first so loose grit does not get rubbed across the lens.
Avoid household glass cleaner, abrasive pads, rough shop towels, and harsh degreasers. A headlight may look like glass, but the lens is plastic. Products that are fine for a window can dry out, scratch, or cloud polycarbonate over time.
After washing, dry the lens with a clean microfiber towel rather than letting hard-water spots bake in the sun. This is especially useful during Denton-area summers, when direct heat can make residue harder to remove.
Use a UV protectant made for exterior plastic
A quality UV protectant can help reduce the oxidation that causes yellowing and haze. Apply it only to a clean, cool, dry lens, then follow the product directions for curing and reapplication. Some protectants are quick and easy to use, but they may need frequent renewal. Others are more durable and take more preparation.
Do not expect a protectant to repair an already failing lens. If the factory coating is peeling or the plastic is visibly rough, the surface needs restoration first. Applying a dressing over damaged material can make the lens look temporarily glossier while leaving the underlying problem in place.
Park smart when you have the option
Garage parking is the best protection from UV exposure. Covered parking, a carport, or even choosing a shaded spot during long workdays can reduce the hours of direct sunlight your headlights receive.
That said, shade alone is not a complete solution. Texas heat, reflected sunlight, and normal driving exposure still take their toll. Think of covered parking as one layer of protection, not a replacement for washing and UV treatment.
Consider a clear protective film
Clear paint-protection film can shield headlights from road debris, bug splatter, minor scratches, and UV wear. It is often a strong choice for newer vehicles, highway commuters, and fleet vehicles that need predictable upkeep.
Film has trade-offs. It costs more upfront than a protectant, and installation quality matters. A poorly installed film can trap dirt, lift at the edges, or look uneven. On a lens that is already cloudy, it can also seal in the appearance of the damage. Restore the lens first, then protect the clean surface.
Do Not Let Small Damage Sit Too Long
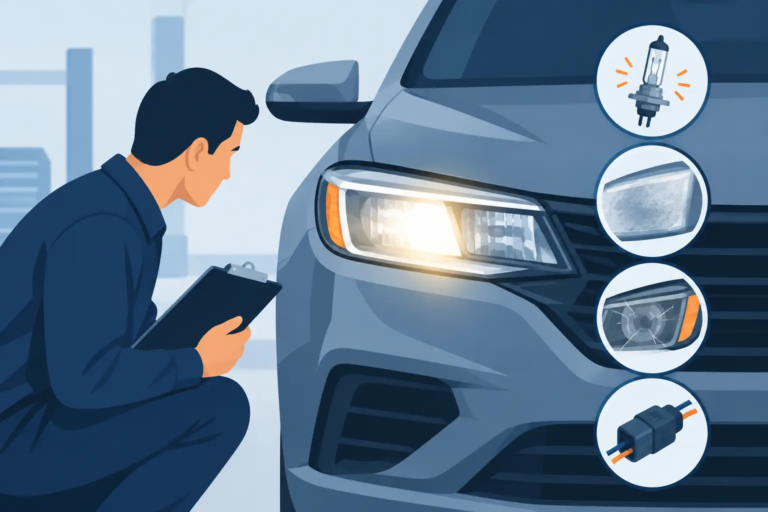
Headlight haze usually develops gradually, so it is easy to ignore until night visibility becomes noticeably worse. Check your lenses every few months in daylight. Look for yellowing near the top of the lens, a milky appearance, fine cracking, peeling clear coat, or a surface that feels rough rather than smooth.
You should also watch for condensation inside the headlight housing. A small amount of temporary fogging can occur with temperature changes, but standing water, repeated heavy condensation, or visible droplets can point to a failed seal or damaged housing. Surface restoration will not correct moisture inside the assembly.
If one headlight looks significantly worse than the other, inspect both. Different parking habits, past repairs, and the angle of sun exposure can make one lens age faster, but restoring or protecting them as a pair gives you a more consistent appearance and light output.
When DIY Headlight Care Is Not Enough
DIY kits can help with mild oxidation, but results vary widely. Many kits rely on sanding away the damaged outer layer. If the sanding is uneven, too aggressive, or not followed by a durable UV coating, the lens can haze again quickly. Using the wrong grit or skipping steps may also leave visible scratches that show up at night.
A professional restoration is often the better value when the lenses are heavily oxidized, scratched, or beginning to peel. The goal is not simply to make the surface shine for a photograph. It is to remove damaged material correctly, refine the lens, and apply protection that helps it stay clear.
Replacement may be necessary when the lens is cracked, the housing is leaking, mounting points are broken, or internal reflector components are damaged. But replacement is not automatically the first answer for every cloudy headlight. A specialist should determine whether the existing lens can be restored safely and effectively before you spend money on a new assembly.
Build Headlight Care Into Your Routine
A realistic routine works better than a complicated one you will not keep up with. Wash the lenses whenever you wash the vehicle, inspect them at seasonal changes, and renew UV protection as the product recommends. If your vehicle lives outside, drives long highway miles, or spends its day on job sites, inspect it more often.
Be careful after automatic car washes as well. Some facilities use strong chemicals or brushes that can be rough on aging lenses. Touchless washing is not always perfect, but it may be a gentler option for headlights that have recently been restored or protected.
For drivers who want clear answers without replacing parts unnecessarily, SuperGlass Denton provides mobile headlight restoration at homes, workplaces, and fleet locations across the area. A proper inspection can tell you whether basic protection, restoration, or replacement is the sensible next move.
Your headlights work hardest when visibility is already poor. Give them attention while the lenses are still mostly clear, and you will spend less time fighting haze later and more time driving with the light your vehicle was designed to deliver.